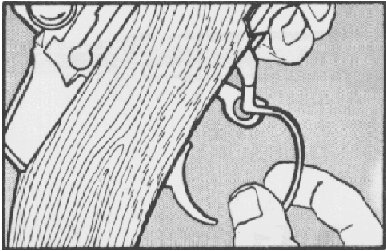
Unlatching the Trigger Guard

Figure 3.

Back